We will learn how to create the effects of disintegration, in this effect there are little unique things, we will learn how to transform the object into a thin shape or make the pieces separate into several parts. But do not worry this tutorial is easy to follow, step by step that we have provided below and you can use Photoshop cc or Photoshop cs6.
And I'm here to use Photoshop cs6 no need to worry for you who have Photoshop cs5 because this tutorial you can follow with version of Photoshop cs5.
To
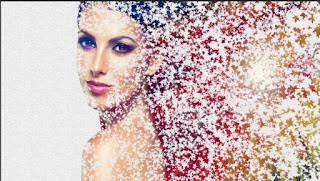
illustrate the end result will be like this, how your own assessment is
quite interesting right ? Therefore you should try to follow this
tutorial you can also see other tutorials such as Multiple Text Strokes In Photoshop Effect, Subtract The Galaxy Effect, and many more.
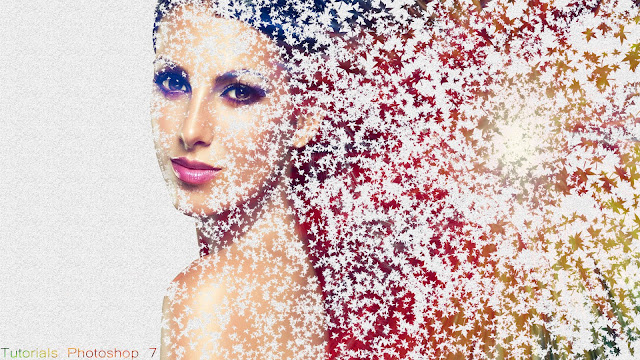 |
| The final effect. |
Select Quick Selection Tool
We start selecting the Quick Selection Tool in the toolbar section of Photoshop, this function is to select the desired area.
 |
| Choose quick selection tool. |
After you select "Quick Selection Tool" it is time to drag the tip of the mouse brush into the model part as shown below.
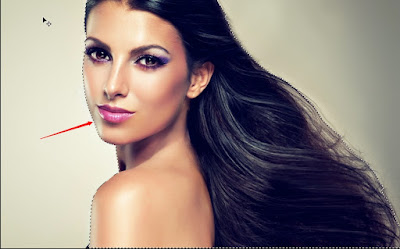 |
| This is the result. |
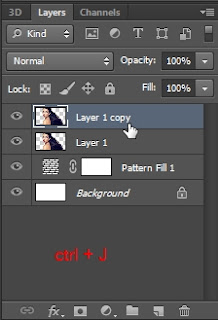
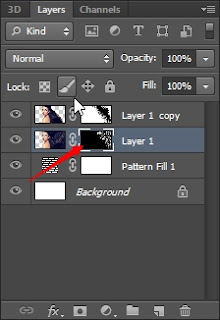
Then ''Control + J'' on the keyboard you use, indirectly this will cut the object in the selection area and will appear layer 1 in the layers.
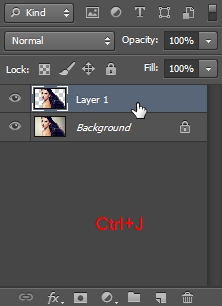 |
| Control J on your keyboard. |
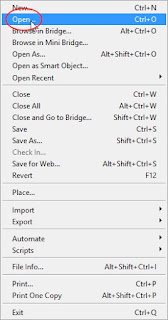
Add New Document
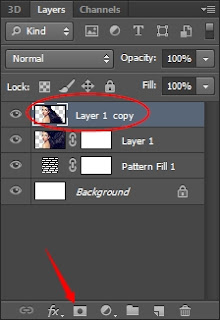
After the above steps have you follow it is time to create a new document for the size you can see in the picture that I have circle red.
But the size of the document is not in exactly the same size as I use it is just a picture for you, and you can match it with the size of the object you are using.
 |
| New document that I use. |
Choose Pattern For Background
The next step we will add a background wear Pattern, this is so that the object looks into the background. If you want to use another way you can use Gradient in the layer menu.
 |
| Select Pattern. |
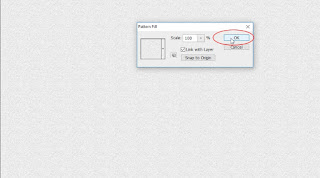 |
| And click OK on the Pattern fill dialog box. |
Move Object To Background
For this step I will move the object to the background that has been created earlier, I will use the Move Tool found in the toolbar Photoshop as shown below.
Choose move tool. Result move tool.
After you have successfully moved the object to the background that you created earlier, now you control + J on the keyboard you are using.
 |
| Control + J on the keyboard | |
Select Liquify In Menu Photoshop
The next step I will use Liquify that has been provided Photoshop, this function to create a shadow object I will give an example image.
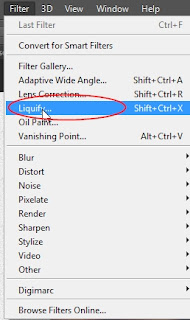 |
| Choose liquify. |
 |
| This is the liquify menu. |
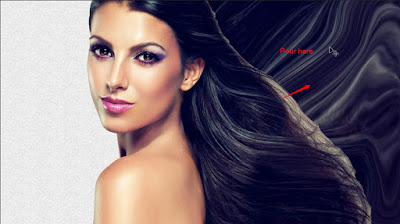
Once you get into the Liquify menu it's time to create a shadow, I'll pull the model hair to the side and you can customize it with the object you choose, here I just set an example for you.
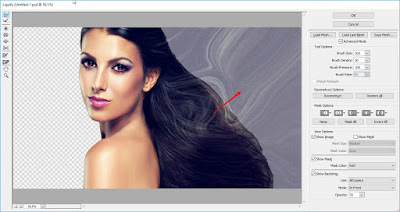 |
| After I pulled the model's hair into a shadow. |
Add layer mask
I will add a Layer Mask to the layer I have given effect.
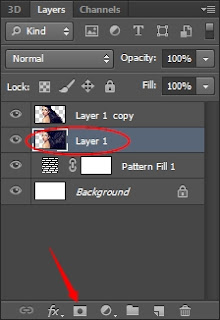 |
| Add layer mask 1. |
 |
| Add layer mask 2. |
Choosing Paint Bucket
From the above step I have been going through now I will use Paint Bucket for the color I will wear black color, this step I use to cover the shadow effect that has been made earlier.
 |
| Choose Paint Bucket. |
I will pour the black color into a hair model that has been given a shadow effect, so the shadow of the hair is indirectly hidden behind the object.
 |
| Layer mask thumbnail. |
 |
| Before I pour the black color. |
 |
| After I pour the black color. |
Select Erase Tool
I will use the Erase Tool, this is the first step to create Disintegration Effect and to brush it I use Maple leaf brush, you can also use another brush, Photoshop provides various Brush Preset Picker on the menu and you can choose depending on the need.
 |
| Select erase tool. |
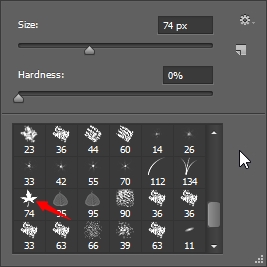 |
| Choosing maple leaf brush. |
Okay my friend will start making disintegration effect and i will give you the picture for you follow below this text.
 |
| Use white color. |
Here's a sample image that I've created for you and you can also match with the model you use using your own version so that the results obtained are very satisfactory.
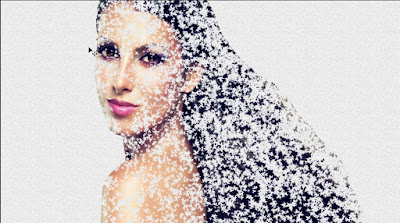 |
| The initial step of the Disintegration effect. |
For
the next step I will restore the shadow of hair that has been made from
the above steps, and I will return little by little to see the effects
of disintegration.
 |
| Use black color. |
 |
| Click layer mask 1. |
 |
| Here is an example of the disintegration effect |
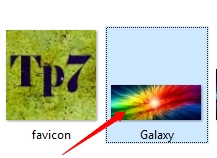
Add a galaxy image
I will add a galaxy image, so the effect that I make looks good if you do not have the galaxy image, you can search in google or website that provide the image.
You can see the steps below below, I will give a red circle to the image of the step or I will give an arrow to the picture that I give to you.
 |
| Open Folder. |
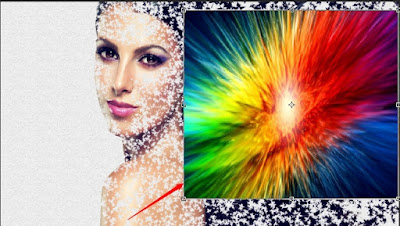
 |
| Add a galaxy image |
Then type Ctrl+a and Ctrl+c on the galaxy image you have added to Photoshop, paste it into the object model you are using Ctrl+v, as in the picture below.
 |
| This is an example. |
 |
| This is an example. |
Adjust the galaxy image you have pasted on the object you are using or you can Ctrl+t to adjust the image.
Select Blend Mode
In this blend mode menu a lot of mixed effects that you can use, but here I will choose a Lighten effect to look unified with the model I use.
 |
| Select lighten. |
 |
| And this is the result. |
Add text
After you follow the steps above now it's time to add text, this is the last step to create the Disintegration effect.
 |
| Text style. |
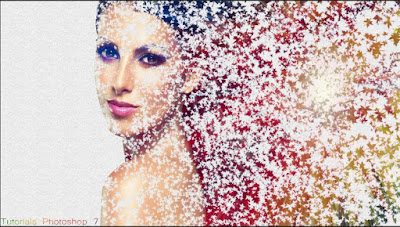 |
| The final effect. |
OK Friend that's the end result of the effects that I make, if you want to see other tutorials that you can see such as tutorials for Effect Reduce Galaxy Effect,Blue Eye Effect In Photoshop and much more.
If you successfully follow the tutorial we created, you can comment below here, see you again in the upcoming tutorial and do not forget to to share my simple tutorial thanks.


